Address
304 North Cardinal
St. Dorchester Center, MA 02124
Work Hours
Monday to Friday: 7AM - 7PM
Weekend: 10AM - 5PM
Address
304 North Cardinal
St. Dorchester Center, MA 02124
Work Hours
Monday to Friday: 7AM - 7PM
Weekend: 10AM - 5PM
Yingtai H81MLC power on auto power off repair
Yingtai h81mlc powered on auto power off and found the cause of the fault, so LM324 10PIN was connected to Q1, and Q1 controlled pin to connect with Q2.Q2 is connected with Q3, Q2 is already at high potential. After replacing Q2 directly, Q1 control pin is normal,booting up is finished.
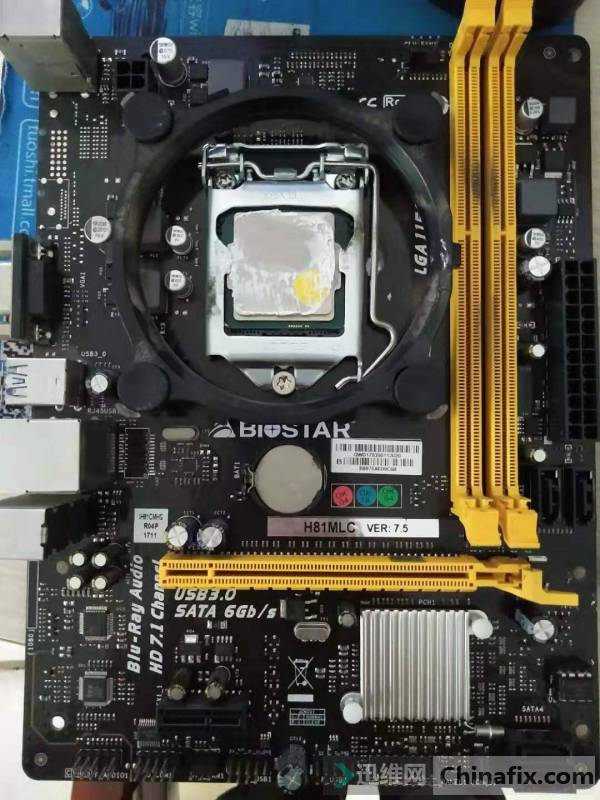
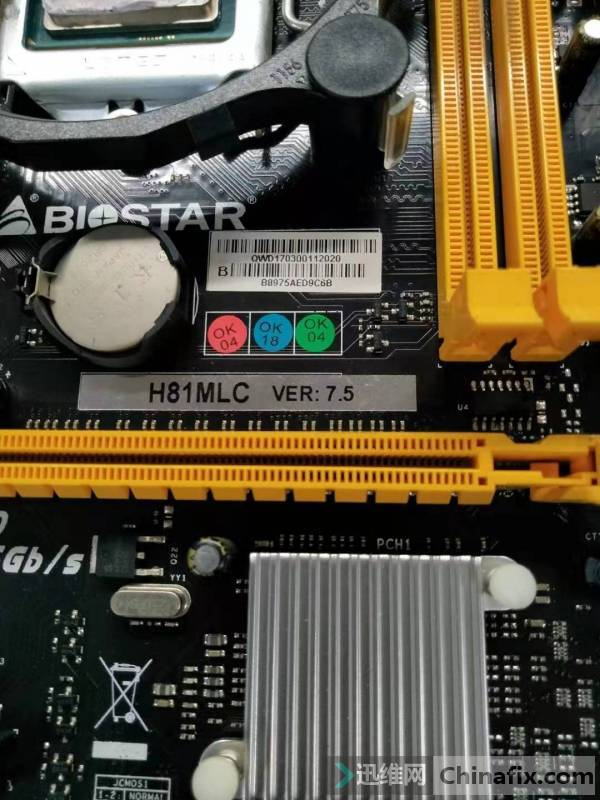
Machine model: Yingtai H81MLC
Fault phenomenon: power on auto power off
Maintenance process:no damage to the main board.Then power on to see the current fault phenomenon: power on auto power off to see which VCC does not come out or which signal is abnormal.
Yingtai H81MLC power on auto power off repair Figure 1.
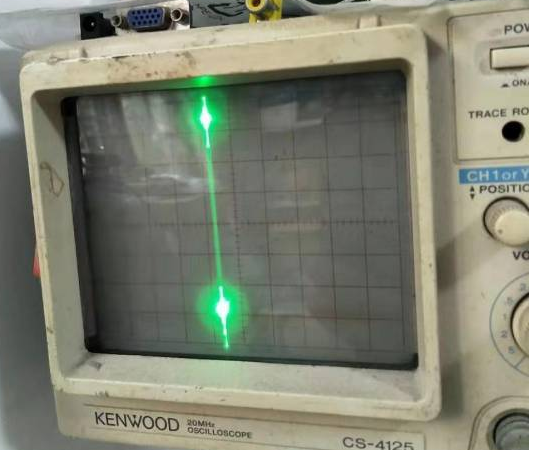
First measure the memory 1.5V, the waveform is normal.
Yingtai H81MLC power on auto power off repairFigure 2.
Looking at the bridge VCC 1.05v PCH, the VCC output from MOS q23 is normal.
Yingtai H81MLC power on auto power off repair Figure 3.

Yingtai H81MLC power on auto power off repair Figure 4.
Looking at bridge 1.5pch.
Yingtai H81MLC power on auto power off repair Figure 5.
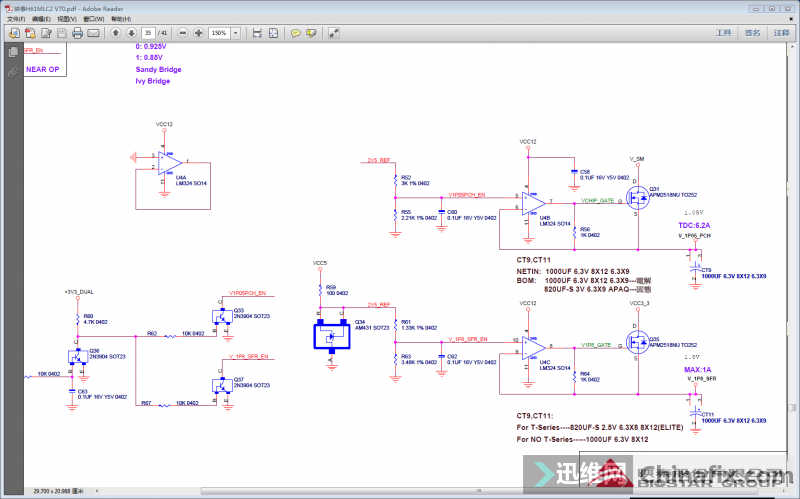
This 1.5V PCH VCC is output by q22, and its S-level output is measured. There is no VCC.Level D input 3.3 is normal, and level g control stage does not have VCC.
The problem has been found. Find a drawing to see which q22 is controlled by.Looking for a circle on the forum of xunwei.com, I found that many people came to ask for this drawing, but they didn’t have it. After a search on Taobao, several sellers said they didn’t.I can’t help it. I have to work hard.
So, use multimeter to see where this q22g class is going.The operation is as fierce as a tiger, and it reaches LM324.Q22 grade g connected to 8 pin of LM324.Refer to the drawing of Yingtai H61.
Yingtai H81MLC power on auto power off repair Figure 6.
8 pin output, 9,10 pin input.And the forward input 10 pin is larger than the reverse input 9 pin.pin will output high level.Measured to 9,10 two pin are low level.The measured resistance is 4.1K.If the partial voltage is 3.3, it should be 1.65v,or so,Repeat welding. If the voltage divider resistor is used, it is useless.
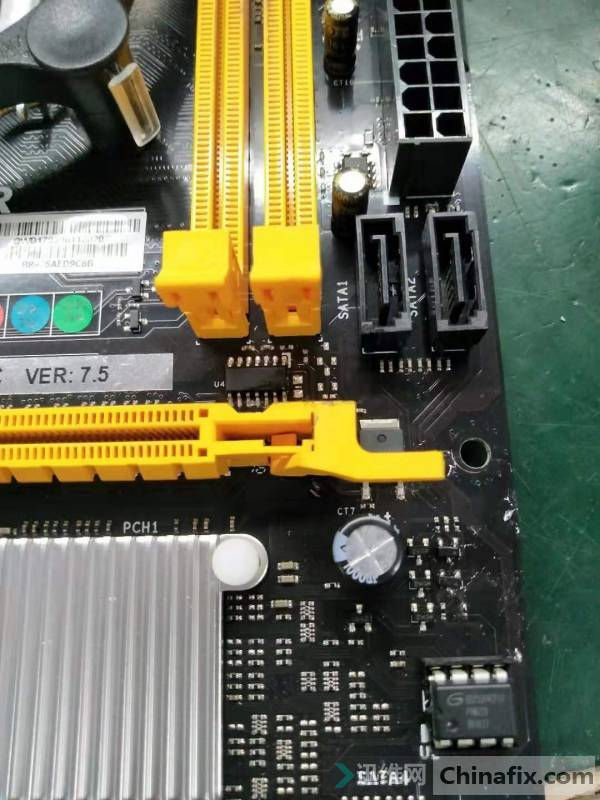
Referring to the H61 drawing, the EN of 10 pin is estimated to be under which control.Do not know is Io chip, or a few small QQ, or no way, slowly flip it.One end of multimeter is connected with LM324 10PIN, and the other end of the whole motherboard is slowly explored. After IO inverted, it is going to flip each QQ.Kung Fu pays off, finally found QQ.
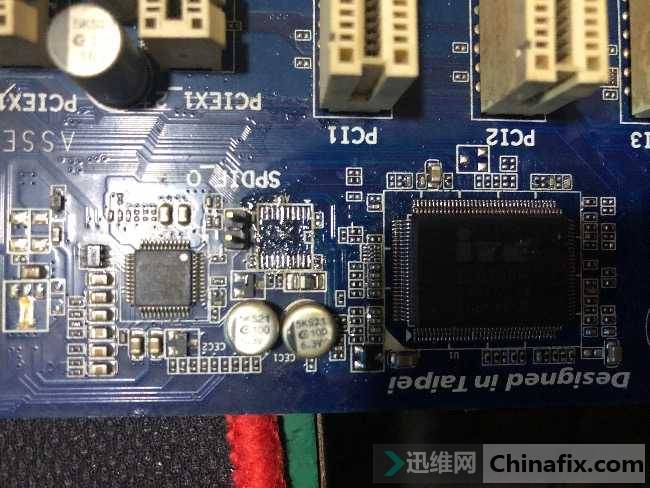
Yingtai H81MLC power on auto power off repair Figure 7.
As there are no drawings and no points on the board, I have to process it myself.

Yingtai H81MLC power on auto power off repair Figure 8.
LM324 (subject to QQ logo on the right) 10PIN is connected to Q1, and Q1 controls pin to connect with Q2.Q2 is connected with Q3.The control of measuring Q1 and Q2 is pin, Q1 is controlling pin 5V, Q2 is controlling pin 3V, Q2 is already high potential, but Q1 cannot be pulled down to control pin.Finally, the culprit was found. After replacing Q2 directly, Q1 control pin was normal, which was 0V.
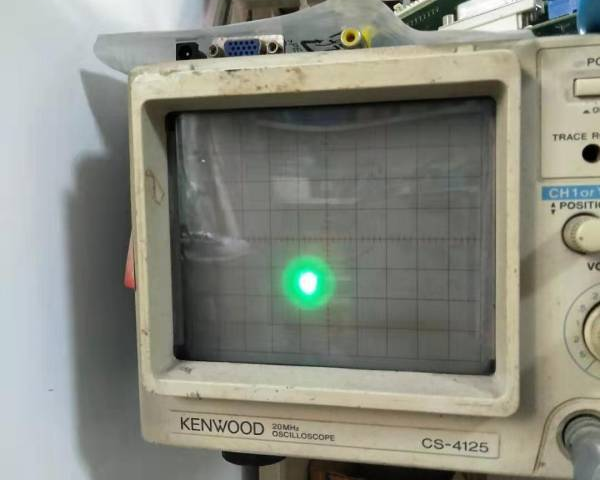
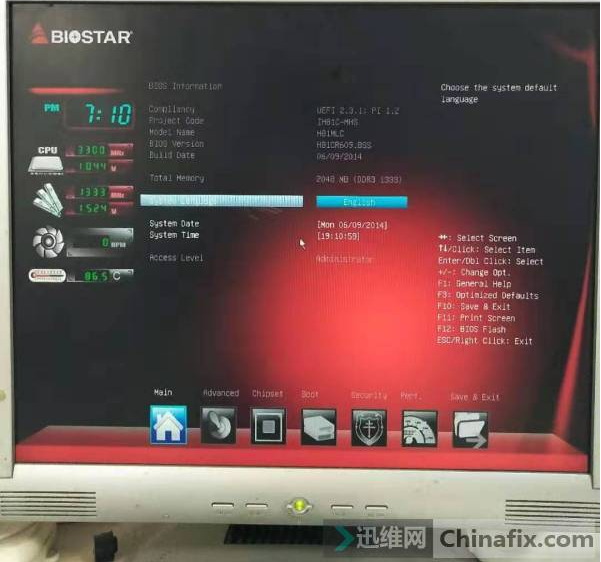
Finally, 8,9,10 VCC of LM324 are 3.79v, 1.53v and 1.54v respectively
Q22 also normally outputs 1.5V PCH, lights up, and the maintenance is over.
Yingtai H81MLC power on auto power off repair Figure 9.