Address
304 North Cardinal
St. Dorchester Center, MA 02124
Work Hours
Monday to Friday: 7AM - 7PM
Weekend: 10AM - 5PM
Address
304 North Cardinal
St. Dorchester Center, MA 02124
Work Hours
Monday to Friday: 7AM - 7PM
Weekend: 10AM - 5PM
Repair of Gigabyte GA-H61M-DS2 motherboard after repeated power-on and power-off.
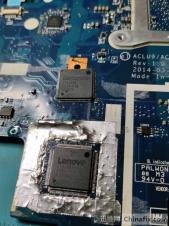
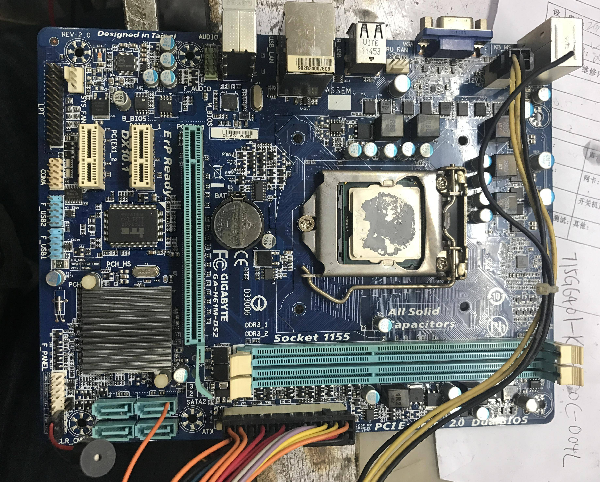
Motherboard model: Gigabyte GA-H61M-DS2 motherboard.
Fault phenomenon: the motherboard is repeatedly powered on and off.
Maintenance process:
A Gigabyte GA-H61M-DS2 motherboard, the fault is that the motherboard is repeatedly powered on and off, plugged in the buzzer, unplugged the memory, or repeatedly powered on and off.
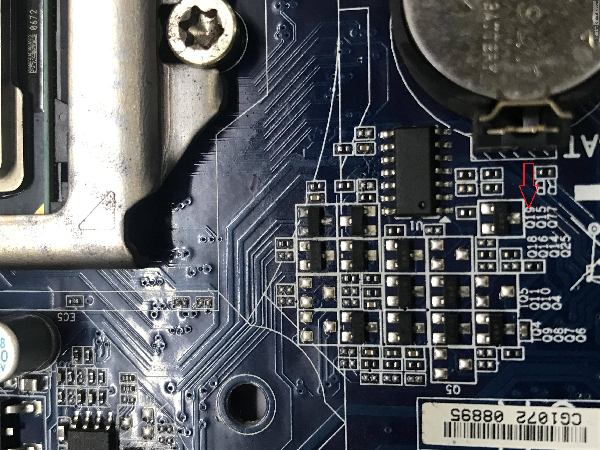
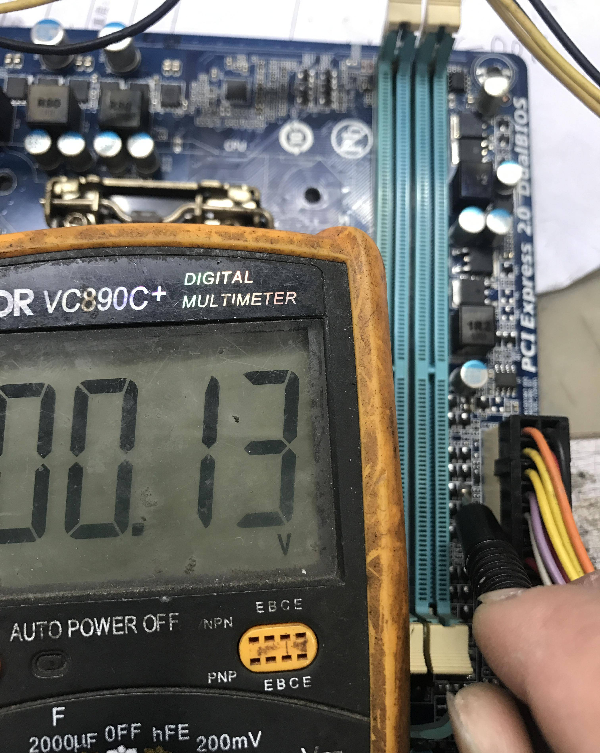
Maintenance of Gigabyte GA-H61M-DS2 motherboard after repeated power-on and power-off Figure 1.
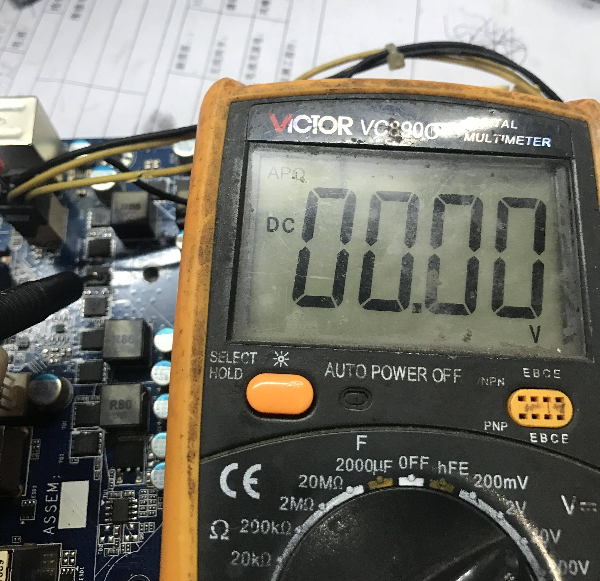
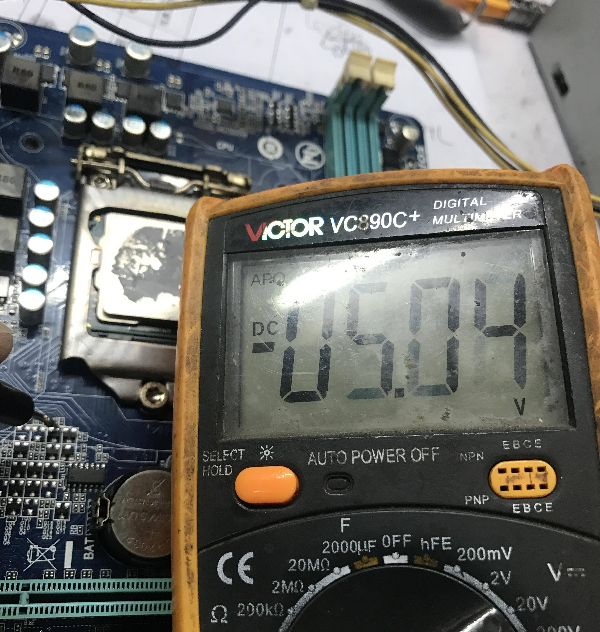
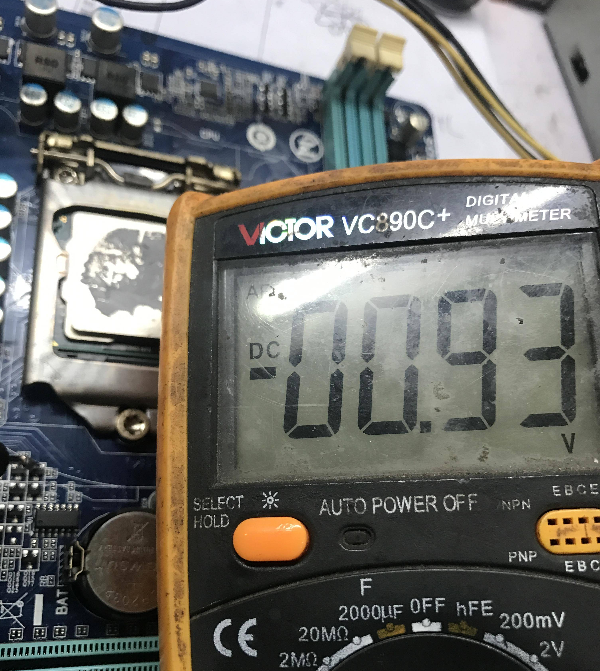
Test memory power supply 1.5V, bridge power supply 1.8V, CPUVTT voltage 1.05V and VCCSA voltage 0.93V are all normal.
Test that the CPU power supply is 0V, which is abnormal.
Maintenance of Gigabyte GA-H61M-DS2 motherboard after repeated power-on and power-off Figure 2
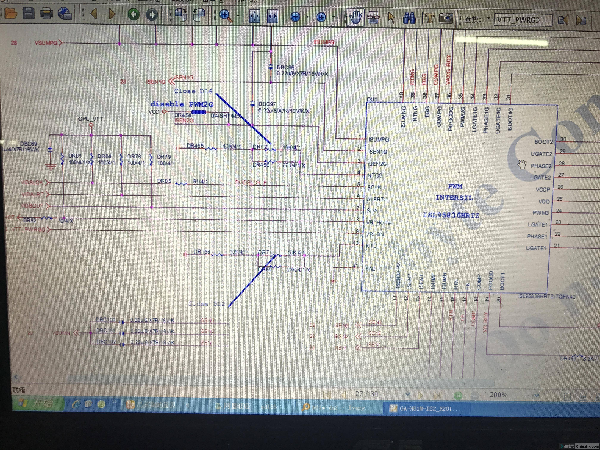
Open the drawing and find the CPU chip.
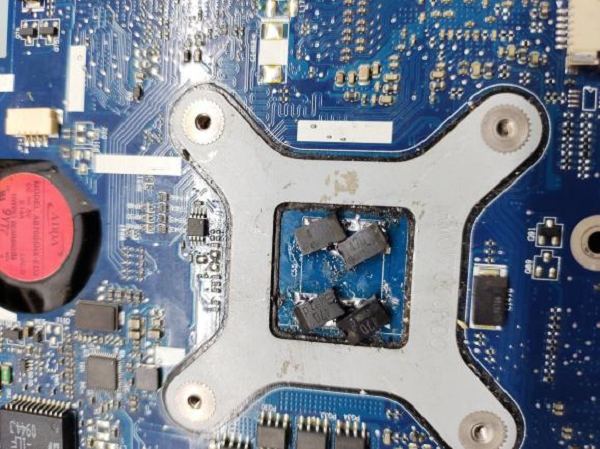
Maintenance of Gigabyte GA-H61M-DS2 motherboard after repeated power-on and power-off Figure 3
The VDD measurement is normal, and there is no voltage at the opening pin of 9 pins of VTTPWRGD. Continue to find the connected points, find Q40 and Q18, and measure the high-low jump of Q40 G pole pin.
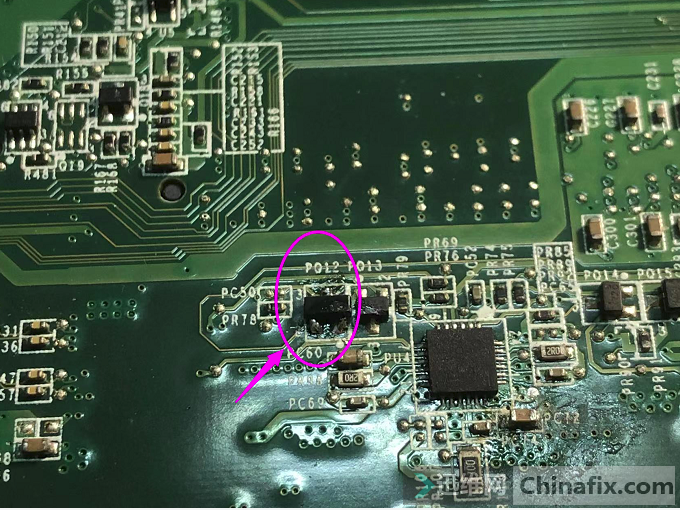
Maintenance of Gigabyte GA-H61M-DS2 motherboard after repeated power-on and power-off Figure 4
Q18 G has no jump, and it is always a high voltage.
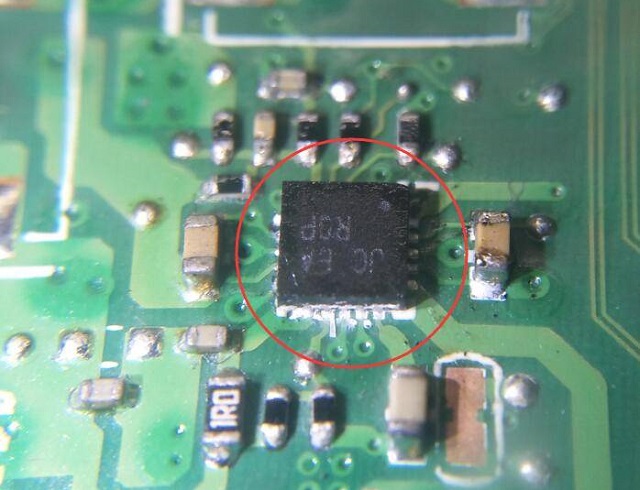
Maintenance of Gigabyte GA-H61M-DS2 motherboard after repeated power-on and power-off Figure 5
Q18 G pole is controlled by Q19, and Q19 B pole has high-low jump.
However, there is no jump at C pole, and Q19 is obviously damaged. Replace Q19, and the voltage is normal. After power-on and screen connection test, the startup is normal. Troubleshooting and maintenance are over.