Address
304 North Cardinal
St. Dorchester Center, MA 02124
Work Hours
Monday to Friday: 7AM - 7PM
Weekend: 10AM - 5PM
Address
304 North Cardinal
St. Dorchester Center, MA 02124
Work Hours
Monday to Friday: 7AM - 7PM
Weekend: 10AM - 5PM
iPhone 6 water damage can’t be turned on. Troubleshooting
Machine model: iPhone 6
Fault: iPhone 6 water damage can’t be turned on.
Maintenance process:
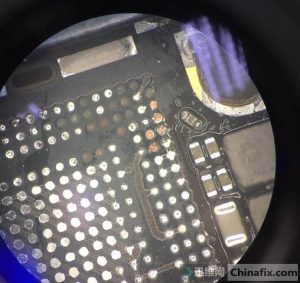
Visually, the motherboard waterproof sticker turns red, indicating that the motherboard has been flooded, and Connect the power supply source found short-circuit current 31mA.
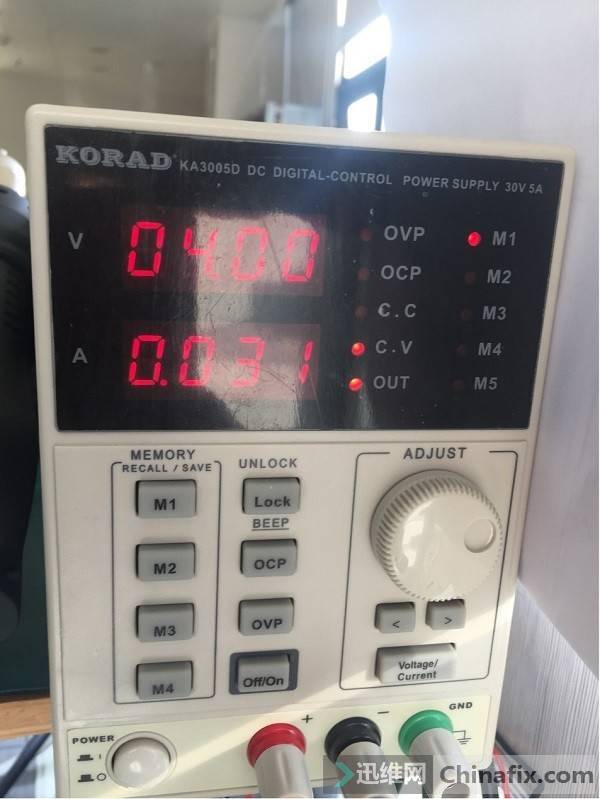
iPhone6 water damage doesn’t work. Troubleshooting Figure 1.
short-circuit power-on signal turns on, and the current jumps directly to 223mA.
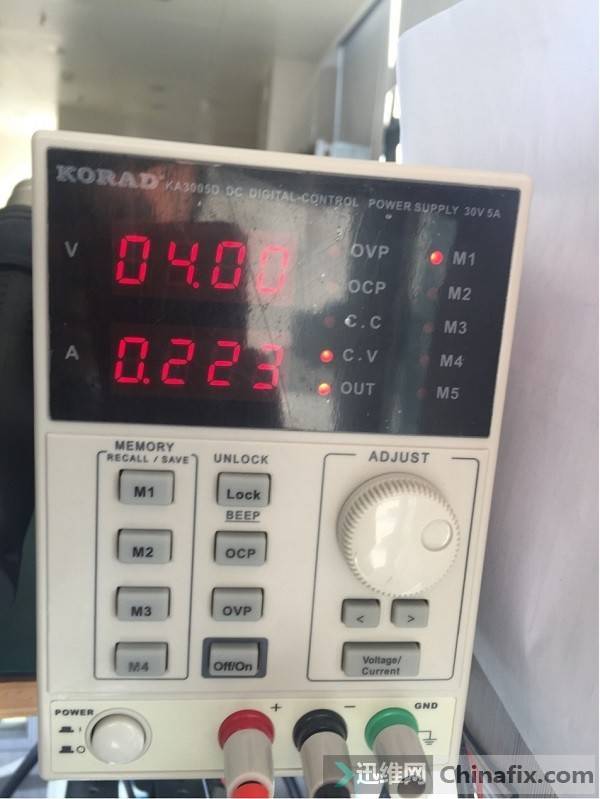
iPhone6 water damage doesn’t work. Troubleshooting Figure 2.
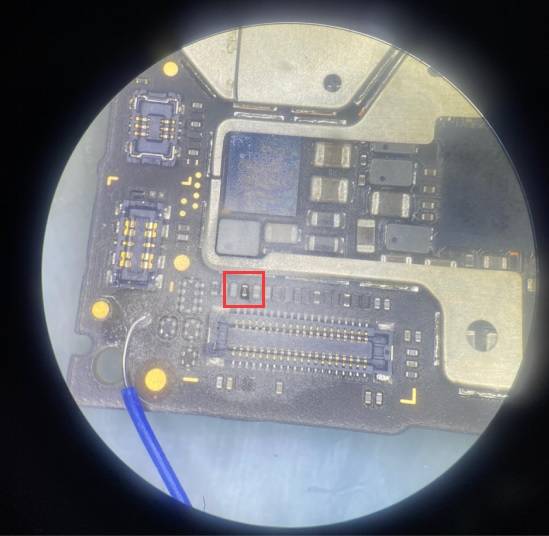
This kind of fault is usually caused by chip damage after water damage. The measured VCC pair values are normal, and the measured lighting cable ground value of I2C0 bus is only 002, indicating that shorted to ground of I2C0 bus is normal at 400 or so.
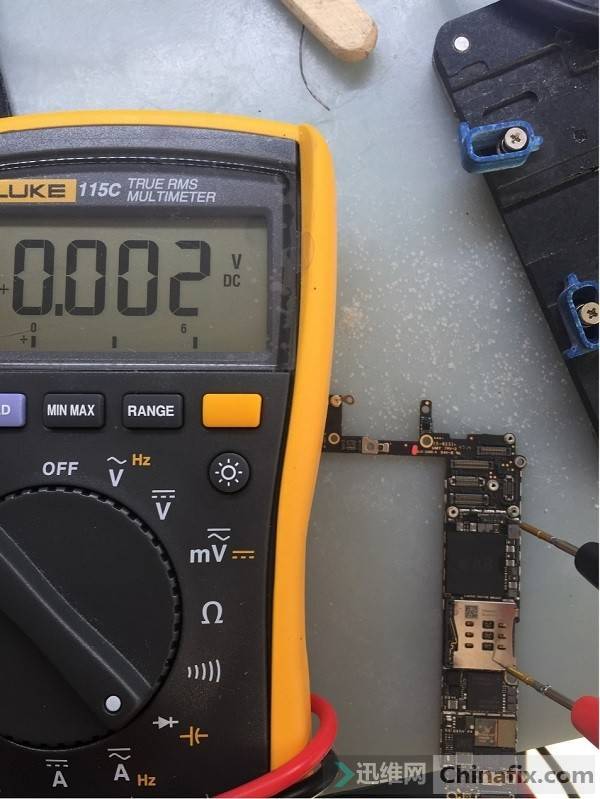
iPhone6 water damage doesn’t work. Troubleshooting Figure 3.
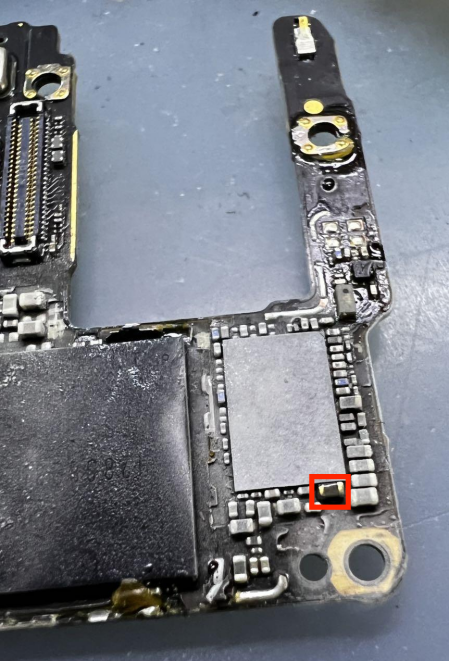
Based on the above phenomena, the target is locked in U1602 flash VCC IC, U1503 fingerprint VCC IC, U1501 display touch VCC IC, U1502 backlight VCC IC. Visually inspect the phenomenon of VCC around U1501, and then measure the ground value of I2C0 bus 352 (immediately after removing U1501
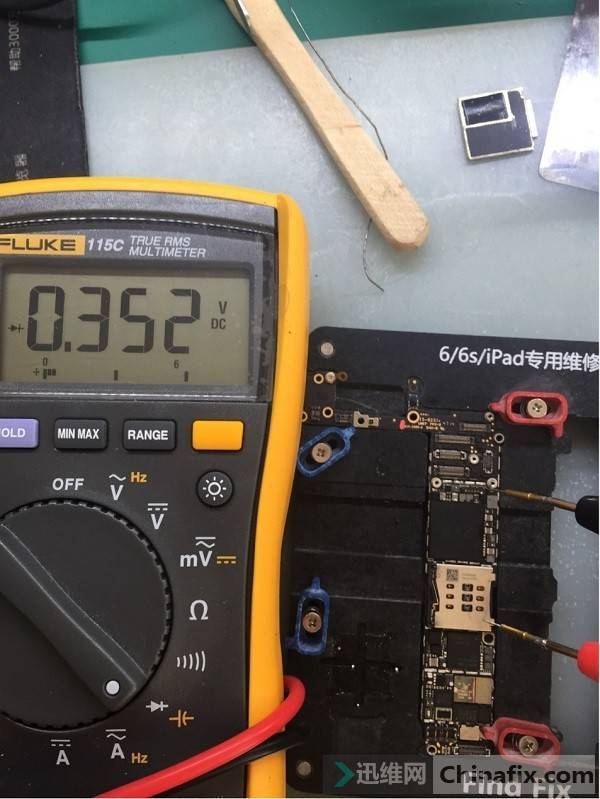
iPhone6 water damage doesn’t work. Troubleshooting Figure 4.
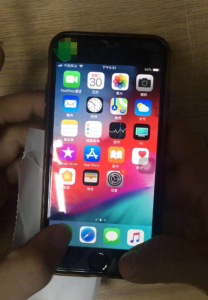
Connect the power supply short-circuit current current is only 001, which means that short-circuit current is no longer used after removing U1501, and the current is normal after switching on a U1501 chip, and current of change is displayed on the screen, and the board can be repaired.
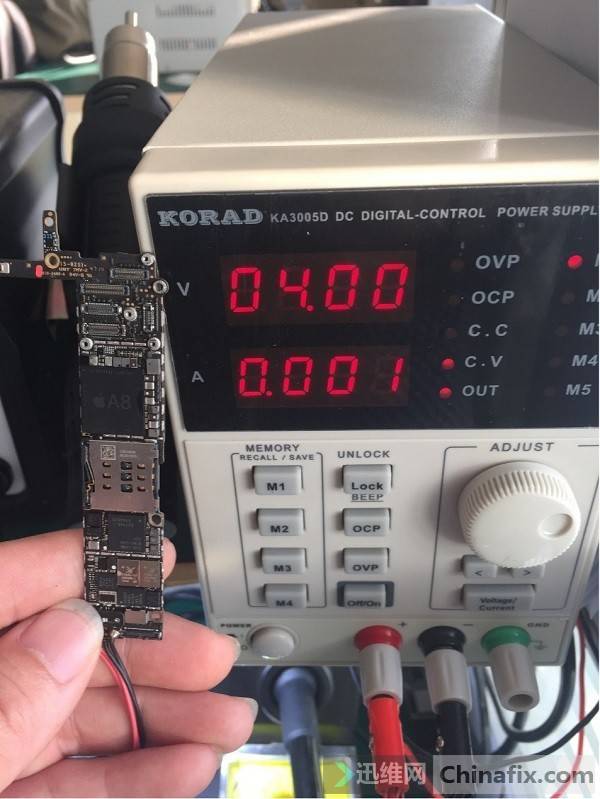
iPhone6 water damage can’t be turned on. Troubleshooting Figure 5.