Address
304 North Cardinal
St. Dorchester Center, MA 02124
Work Hours
Monday to Friday: 7AM - 7PM
Weekend: 10AM - 5PM
Address
304 North Cardinal
St. Dorchester Center, MA 02124
Work Hours
Monday to Friday: 7AM - 7PM
Weekend: 10AM - 5PM
E1xtpa no power on Lenovo notebook maintenance
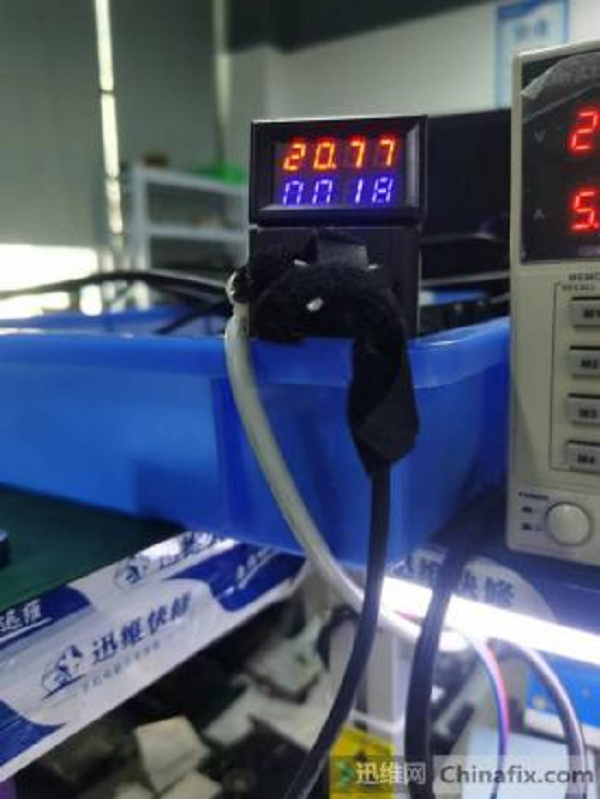
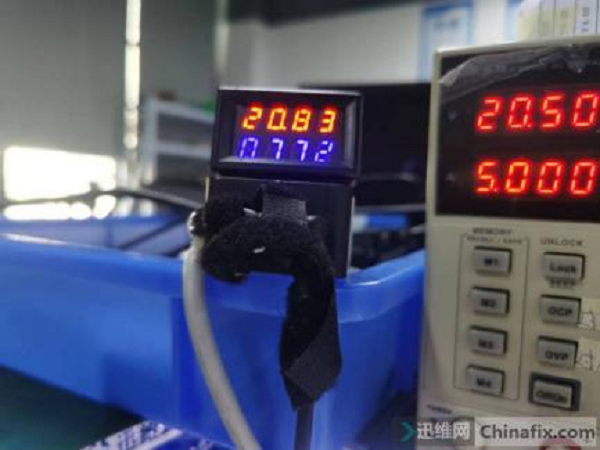
When the current is stopped at 0.018, it is obvious that the standby condition is not satisfied;We need to find out whether the standby of EC is not satisfied or the standby of bridge is not satisfied.
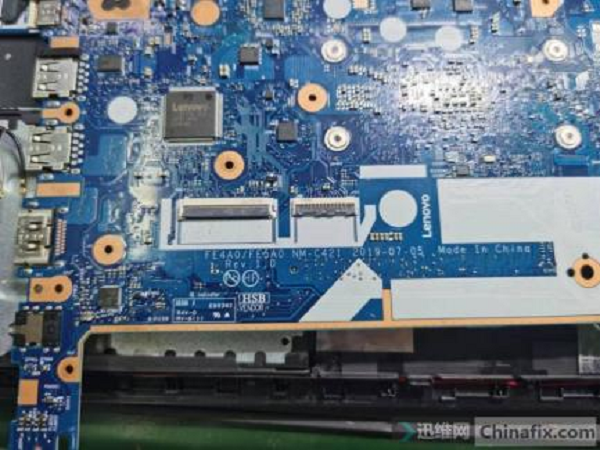
Machine model: Lenovo ThinkPad E14
Machine plate No.: nm-c421
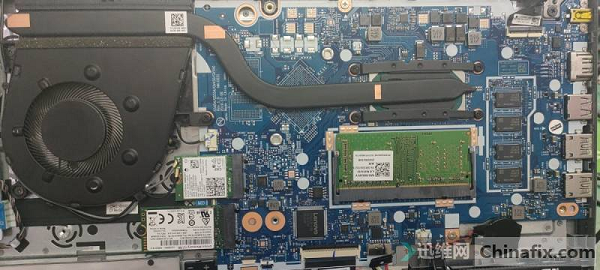
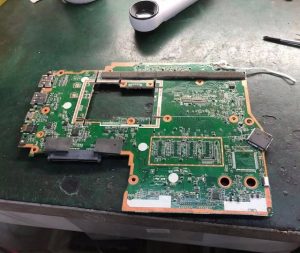
Maintenance process: first remove the machine to remove the motherboard, visual inspection found no signs of burning,water damage or corroded by moisture.
Lenovo ThinkPad E14 notebook no power on maintenance Figure 1
Then,Inductor to ground diode value was normal, and VCC was not abnormal.Then power on to check the current, because the machine is of type-C port, and needs a voltage rise and fall process. (short range protocol handshake) after successful handshake, the voltage will rise to 20V, and the current will stop at 0.018,Obviously, the standby condition is not satisfied (because normally, the bare board will automatically switch as long as it is powered on, but now it is stopped at 0.018, which indicates that the condition is insufficient). Now we need to find out whether the standby of EC is not satisfied or the standby of bridge is not satisfied.
Lenovo ThinkPad E14 notebook no power on maintenance Figure 2
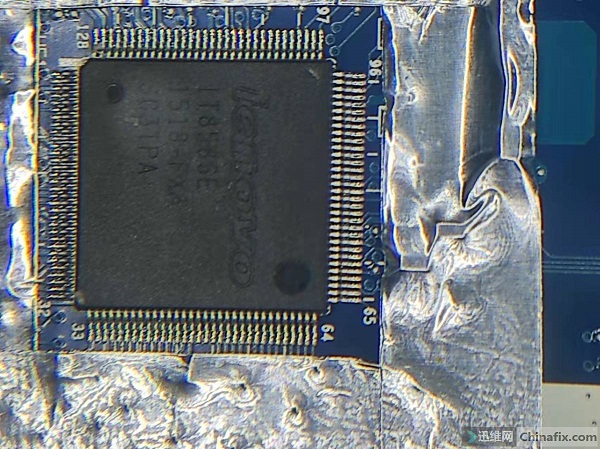
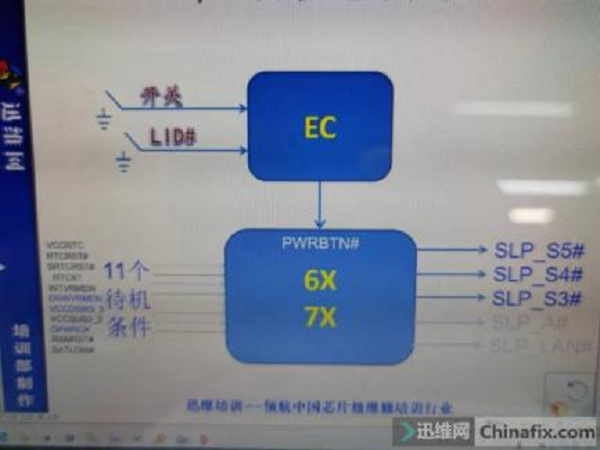
Starting from EC, we usually check four aspects: EC VCC, EC standby CLK, EC reset, and whether pwrbtn ා is current of change normal after pressing Switch, and whether EC has sent current of change signal to the bridge. It is found that the conditions on the EC side are normal. The next step is to go to the bridge, continue to check, and check the RTC circuit here.
Lenovo ThinkPad E14 notebook no power on maintenance Figure 3
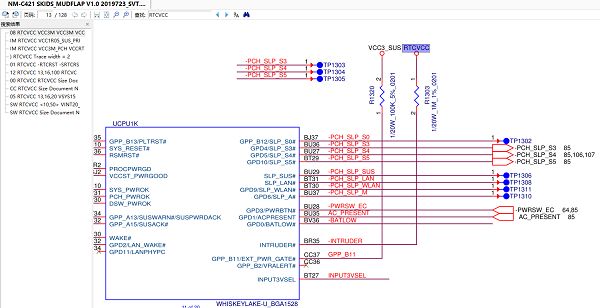
Open nm-c421 schematic in Xinzhizao Soft software. From the circuit diagram, vccrtc goes to several places, including br23 pin directly to CPU and br35 pin to CPU through Capacitor r1303.

Lenovo ThinkPad E14 notebook no power on maintenance Figure 4
Lenovo ThinkPad E14 notebook no power on maintenance Figure 5
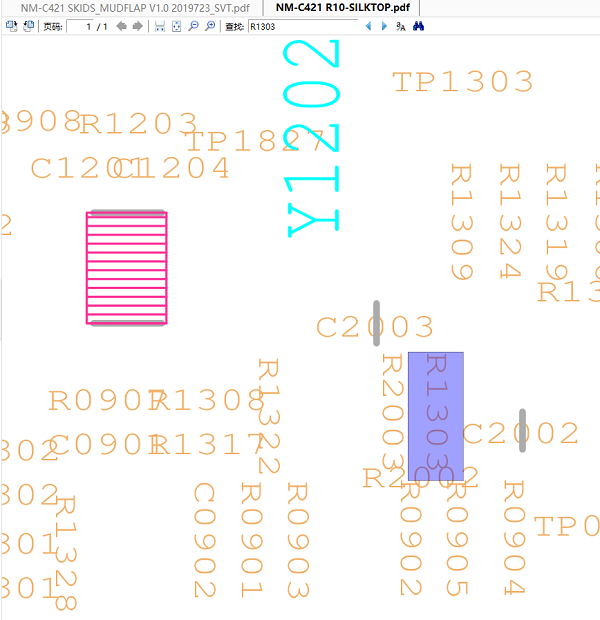
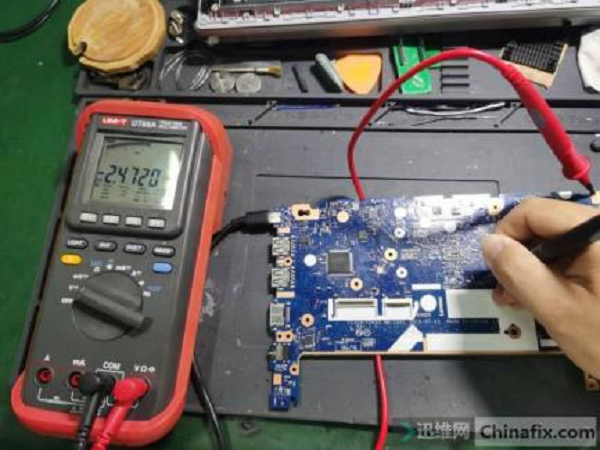
First go to measure the rtcvcc VCC of CPU. Check the location map to find the resistance position of r1303. The measurement shows that VCC at r1303 is only 2.3v/2.4v, which is obviously too low. Normally, it is 2.9v-3.3v or so. Continue to trace the source of VCC.
Lenovo ThinkPad E14 notebook no power on maintenance Figure 6
Lenovo ThinkPad E14 notebook no power on maintenance Figure 7
Lenovo ThinkPad E14 notebook no power on maintenance figure 8
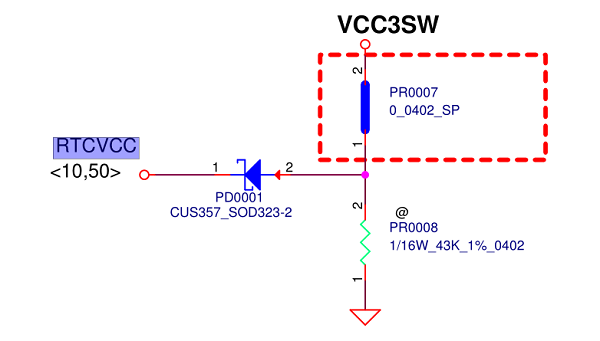
VCC und that the rtcvcc is driven by vcc3sw through a diode and Xinzhizao Soft software to find the position of pd0001, and then find the position of pd0001 on the motherboard.

Lenovo ThinkPad E14 notebook no power on maintenance Figure 9
Maintenance of thinkpa no power on notebook
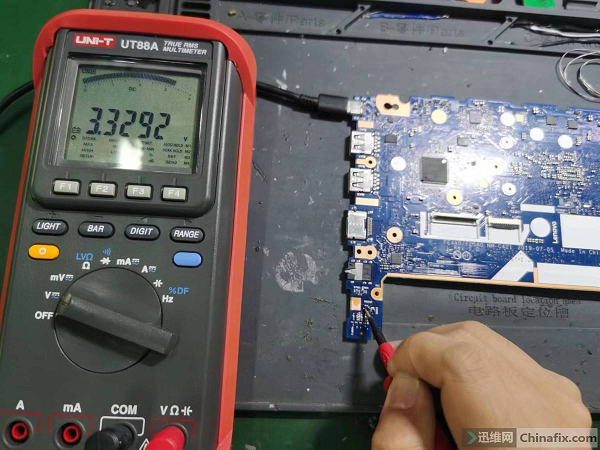
Under the microscope, it was found that the diode was knocked off. The position of the diode was measured with a meter. The positive electrode of pin on the left side was 3.3V, and on the right side was a 2.5v/2.4v or so.
Lenovo ThinkPad E14 notebook no power on maintenance Figure 11
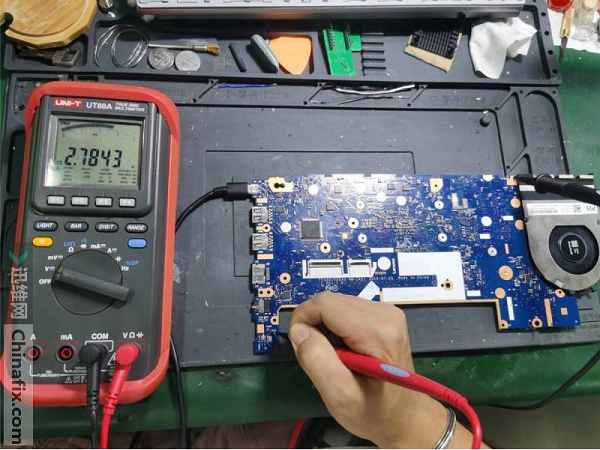
Therefore, we removed a diode from Parts motherboard and installed it in the past, and then measured that the negative pole of the diode VCC was normally kept at 2.78v or so.
Lenovo ThinkPad E14 notebook no power on maintenance Figure 12
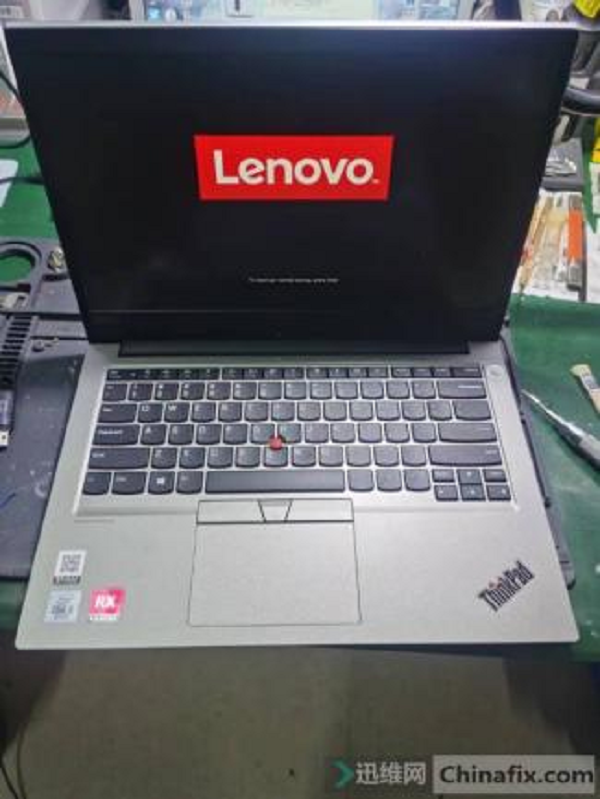
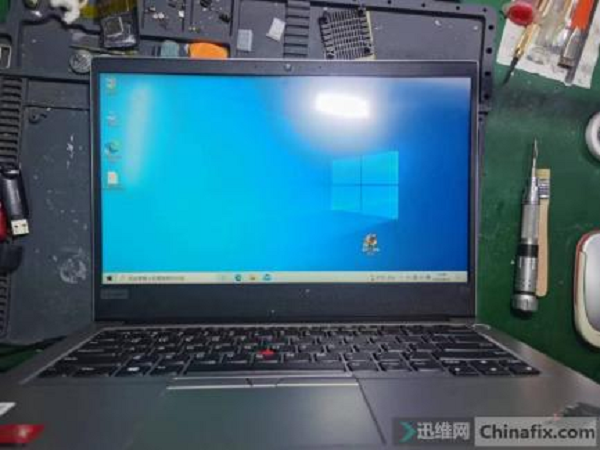
Press the power on key to run the current above 0.772a. Install the motherboard back into the machine for power on test. The display screen displays the Lenovo icon normally. After a while, the machine can enter the desktop normally. The troubleshooting is over!
Lenovo ThinkPad E14 notebook no power on maintenance Figure 13
Lenovo ThinkPad E14 notebook no power on maintenance Figure 14